Photoshop Tutorials: The effect after applying the "Satin" style.
Step 12: Save The Layer Style
We're done adding layer styles at this point, but before you close out of the Layer Style dialog box, click the New Style button on the right:

Photoshop Tutorials: Click the "New Style" button on the right.
We're going to save this gel effect style so that we can re-use it whenever we want. When you click the button, Photoshop pops up the New Style dialog box. I'm going to name my new style "Gel effect":

Photoshop Tutorials: Photoshop's "New Style" dialog box. Name the new style "Gel effect".
Then I'll click OK and I now have my style saved in Photoshop. Let's see how we can instantly apply it to something else.
Since I already have the word "photo" entered into my document window, I'm going to grab my Type tool once again from the Tools palette and this time, I'll enter the word "shop" below it. I'm also going to use the Free Transform command to resize it so it's the same size as the word "photo", and I'm going to rotate it as well. Here's what it looks like at the moment:

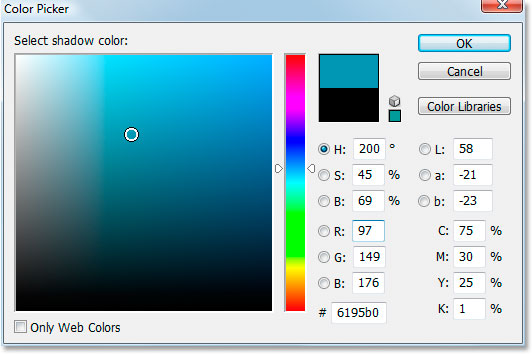
Photoshop Tutorials: Click in a darker area of the text to sample that color to use with the Satin layer style.
Right now, the word "shop" is using nothing more than the original text color, but I want it to have the same "gel effect" I created with the word "photo". I could go through all the steps again and re-create the layer style, but thankfully, I don't have to because I was smart enough to save the effect as a new style. Where can I find the style? It's in Photoshop's Styles palette, located at the very bottom:

Photoshop Tutorials: Photoshop's "Styles" palette with my saved "Gel effect" style at the bottom of the list of available preset styles.
To apply it to my text, all I have to do is make sure I have the "shop" text layer selected in the Layers palette, and then click on the "Gel effect" style in the Styles palette. The effect is instantly added to the text:

Photoshop Tutorials: The "Gel effect" style is instantly applied to the new text.
What if I wanted the word "shop" to be a different color though? It's easy to change the color, but there's a bit of a trick to it, as we'll see next.
Step 13: Changing The Color Of The Gel Text Effect
We're done creating the "gel" effect using layer styles, we've saved it as a new style named "Gel effect", and we've instantly applied it to the word "shop". But what if I want the word "shop" to be a different color? You're probably thinking "Easy, just use a Hue/Saturation adjustment layer". So let's try that and see if it works.
I'll use Hue/Saturation to change the color of the word "shop" from blue to pink. Here's the result:

Photoshop Tutorials: The word "shop" is now pink after applying "Hue/Saturation".
The word itself has turned pink, but do you see the problem? The layer styles are still blue. The Hue/Saturation adjustment had no effect on them. If we want to change both the text color and the layer styles color, we need to use a bit of a trick.
With the "shop" layer still selected in the Layers palette, use the keyboard shortcut Ctrl+G (Win) / Command+G (Mac) to place the "shop" layer into a Layer Group, which Photoshop names "Group 1":

Photoshop Tutorials: Press "Ctrl+G" (Win) / "Command+G" (Mac) to place the "shop" layer into a Layer Group.
We can see in the Layers palette above that the "shop" layer is now inside the Layer Group. Next, we need to change the blend mode for the Layer Group from its default of "Pass Through" to Normal:

Photoshop Tutorials: With the Layer Group selected, change its blend mode from "Pass Through" to "Normal".
Now click on the "shop" layer to select it and then click on the New Adjustment Layer icon at the bottom of the Layers palette:

Photoshop Tutorials: With the "shop" layer selected, click on the "New Adjustment Layer" icon at the bottom of the Layers palette.
Select Hue/Saturation from the list:

Photoshop Tutorials: Select "Hue/Saturation" from the list of Adjustment Layers.
When the Hue/Saturation dialog box appears, drag the Hue slider to change the color of the text:

Photoshop Tutorials: Change the color of the text by dragging the "Hue" slider.
Keep an eye on your text in the Document Window as you're dragging the slider. When you're happy with the new color, click OK to exit out of the Hue/Saturation dialog box, and this time, because the "shop" layer was placed inside a Layer Group, the layer styles are now colored along with the text itself:


